DIY Satisfying Sand
DIY Satisfying Sand
Make your own satisfyingly crunchy sand with this project!
Warning: Choking Hazard – Small Parts. Not for children under 3 years. Adult supervision is required. Do not eat or drink. Thoroughly wash hands before and after making and playing with slime.
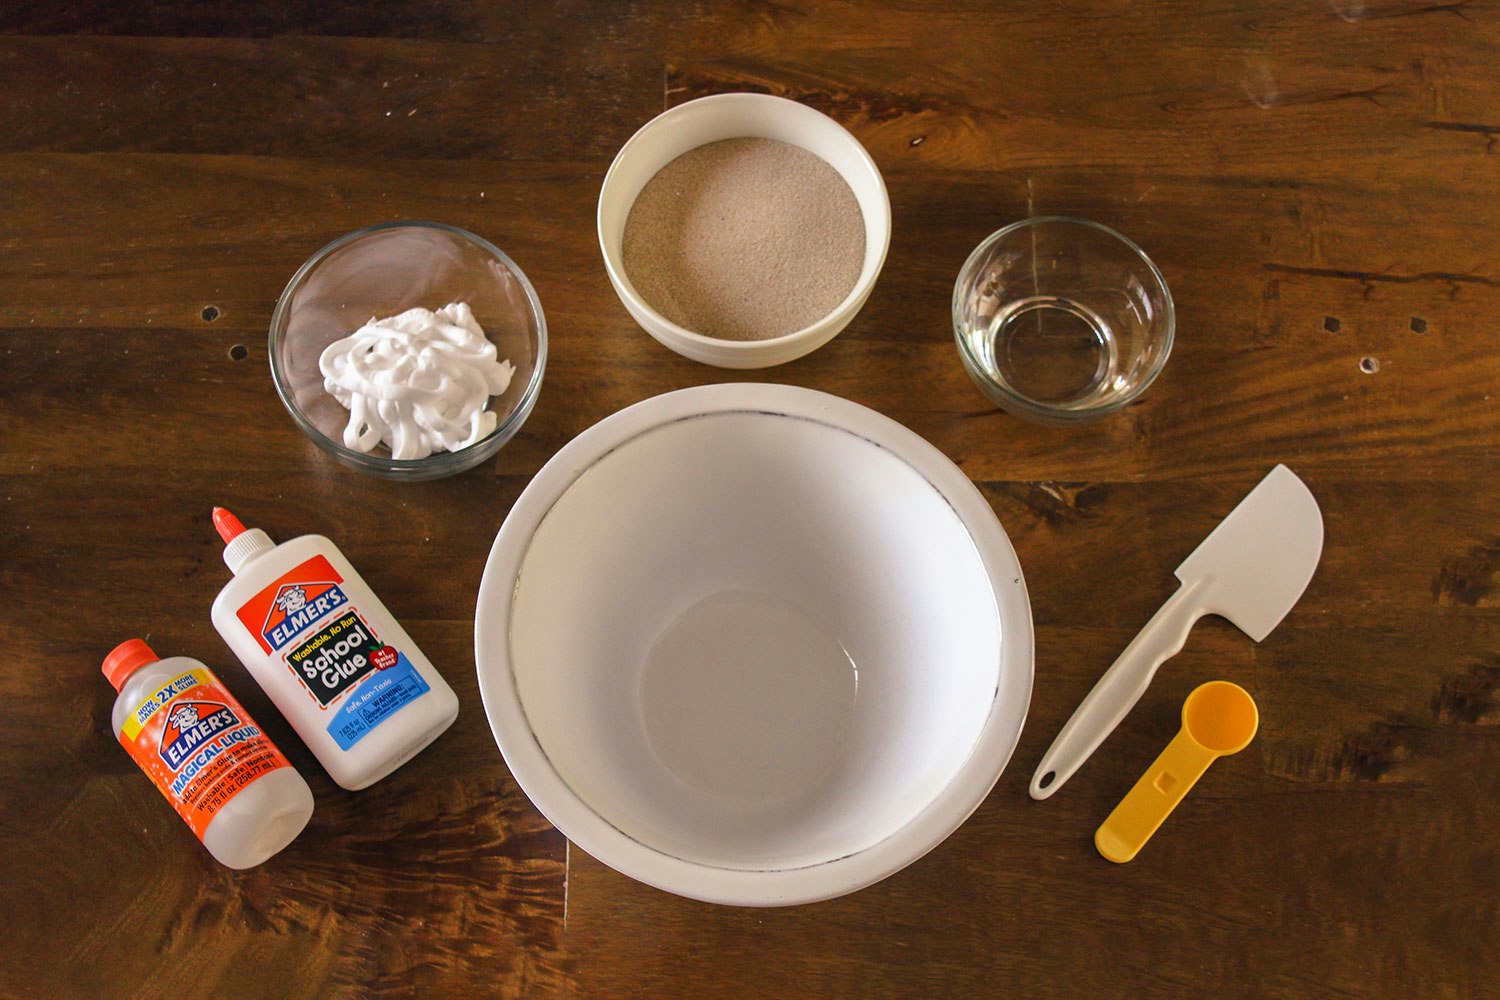
Supplies
- Elmer’s 113.4 g White School Glue
- Elmer’s 248.1 g Magical Liquid
- 1 tbsp of water
- Small bowl
- Fine art or play sand (about 900 g)
- Shaving cream
- Bowl and spatula for mixing
- Measuring spoon (tbsp)
Directions
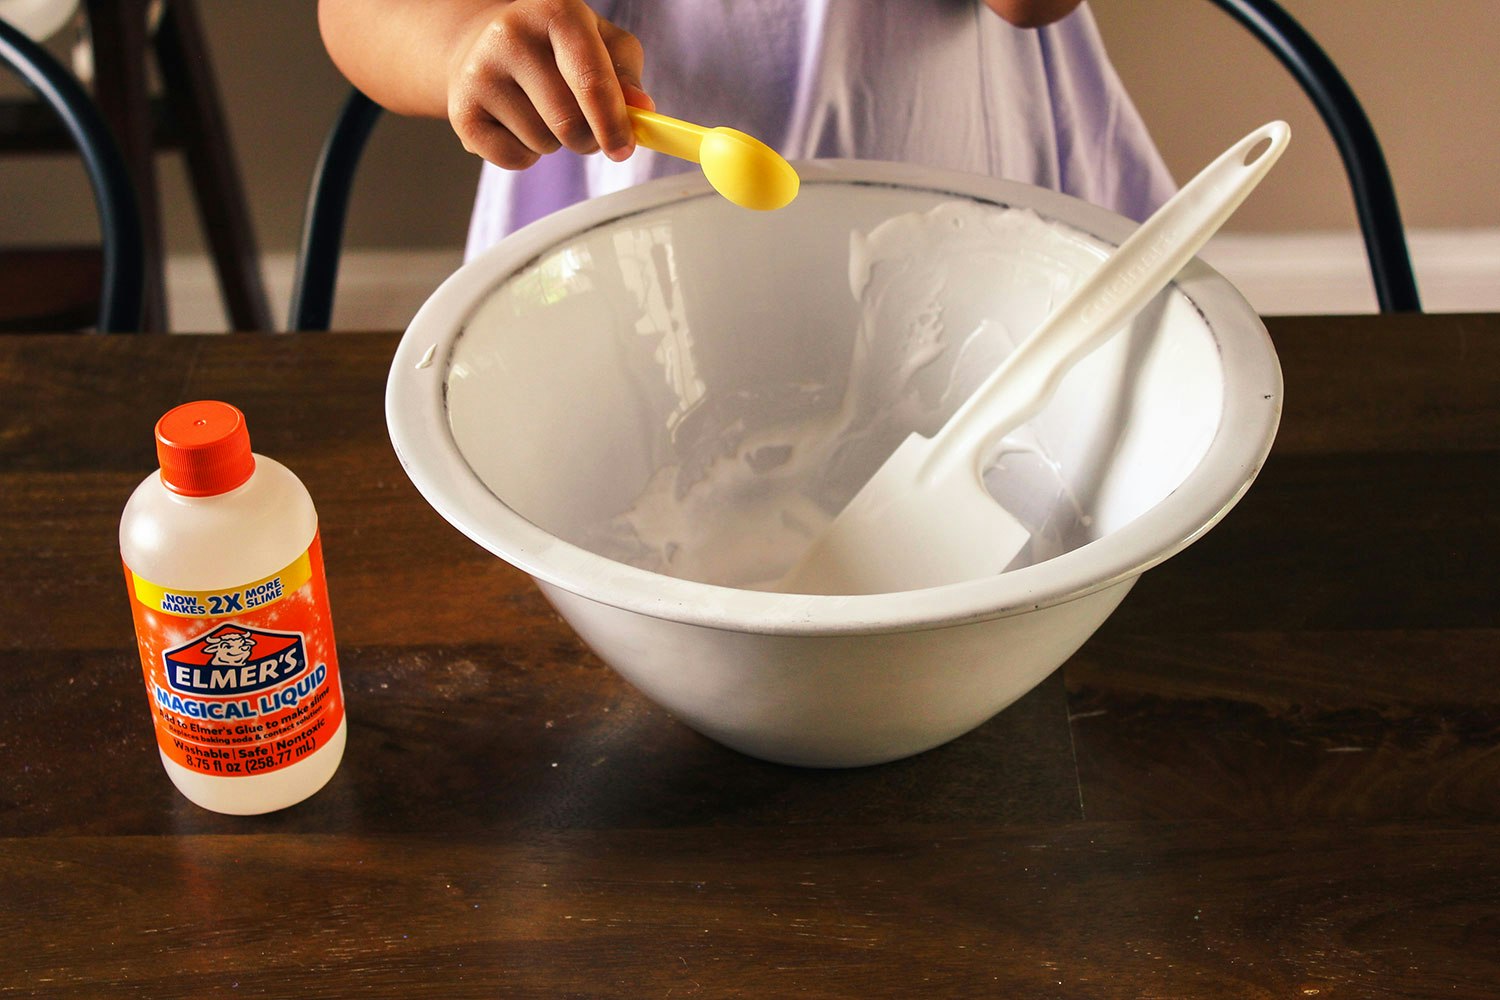
Combine 1 tbsp of Elmer’s White School Glue with 1 tbsp of shaving cream in your small bowl.
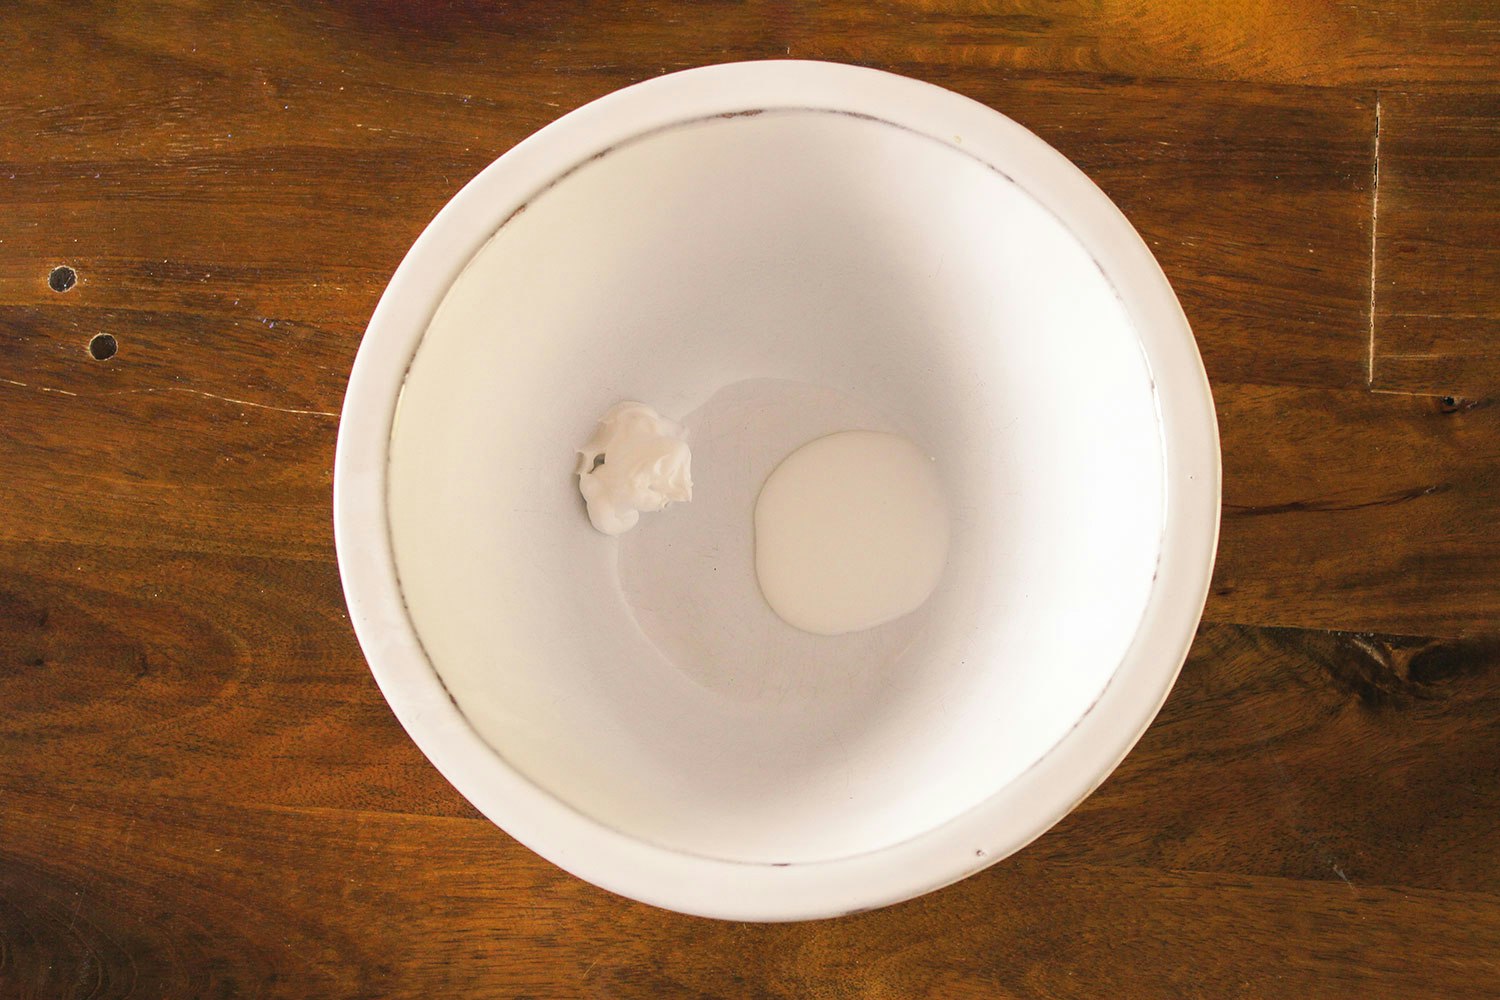
Add a few drops of Elmer’s Magical Liquid to your glue mixture – do not pour it in. You want to create a slime that is just activated, meaning it will come together and not stick to the bowl, but will still stick to your fingers.
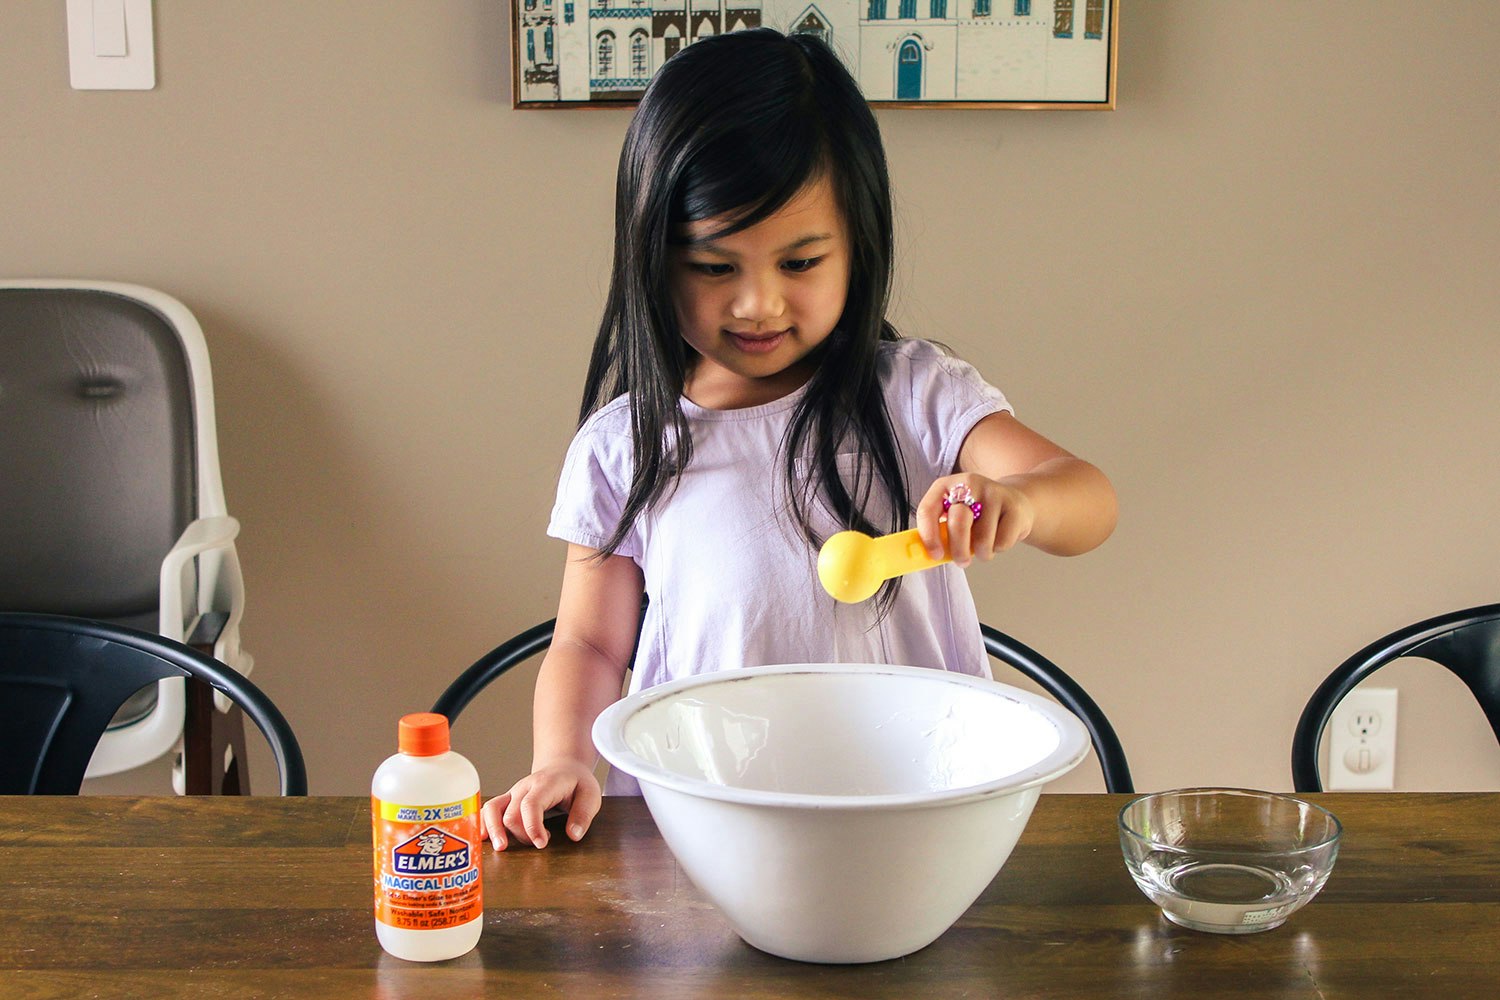
Add about 1 tbsp of water to your sticky slime to create a jiggly slime. Your slime should continue to not stick to the bowl but will still stick to your fingers. If adding the water made your slime deactivate, add a few more drops of your Elmer’s Magical Liquid to reactivate the jiggly slime.

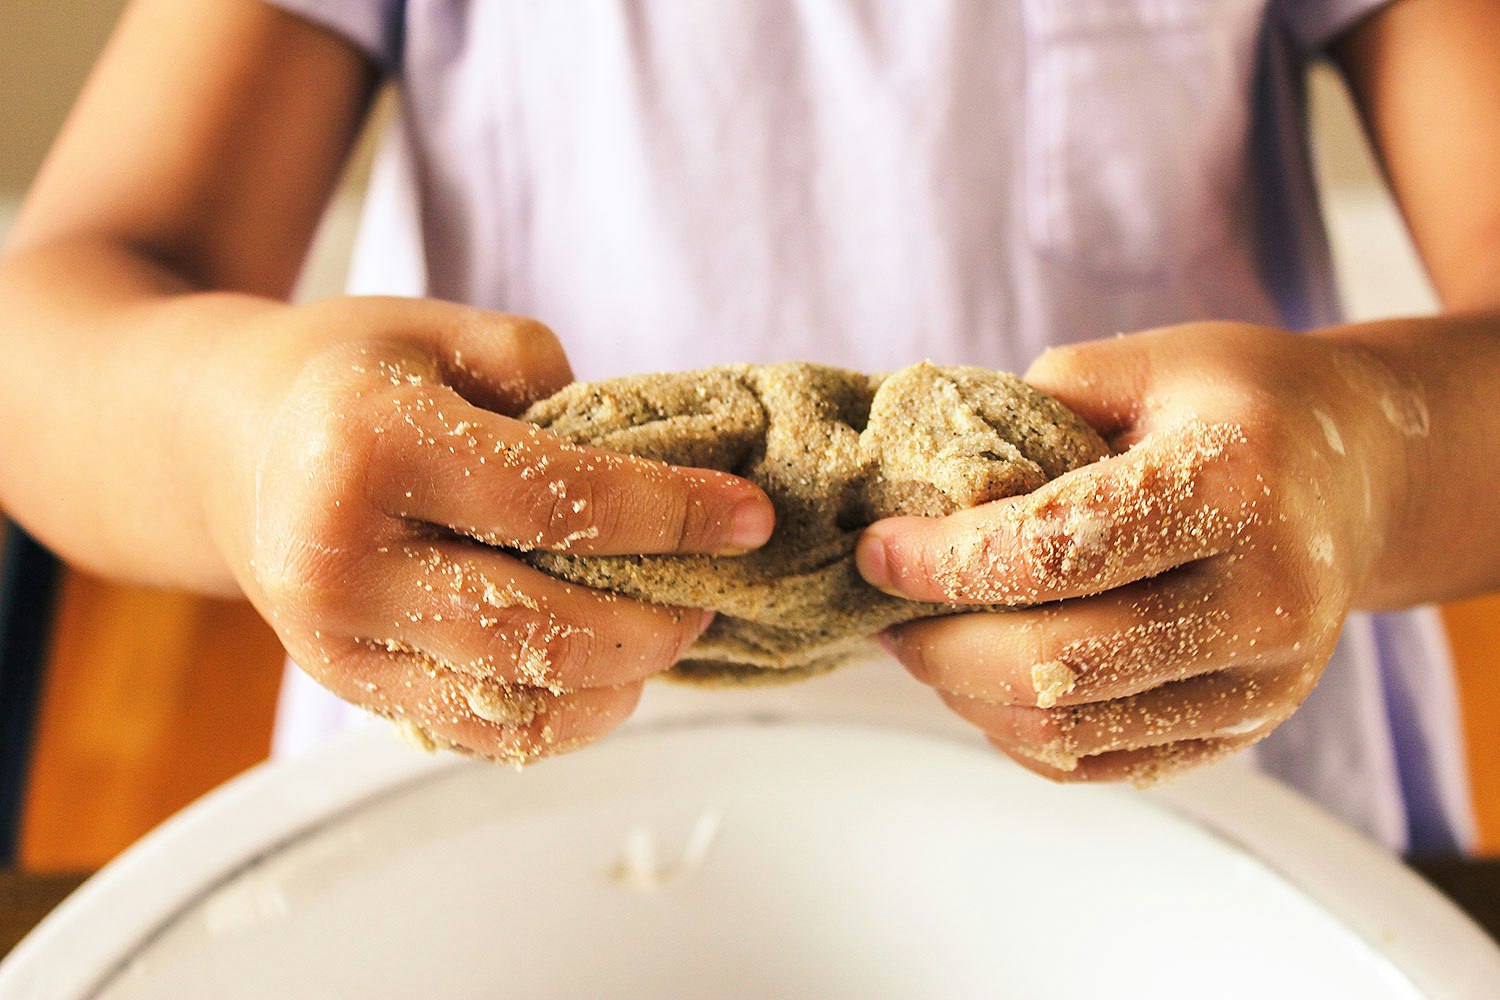
Add the sand a little bit at a time – about enough to just cover the top of the slime in your bowl. Thoroughly press and knead the sand into your slime until it’s completely mixed in.

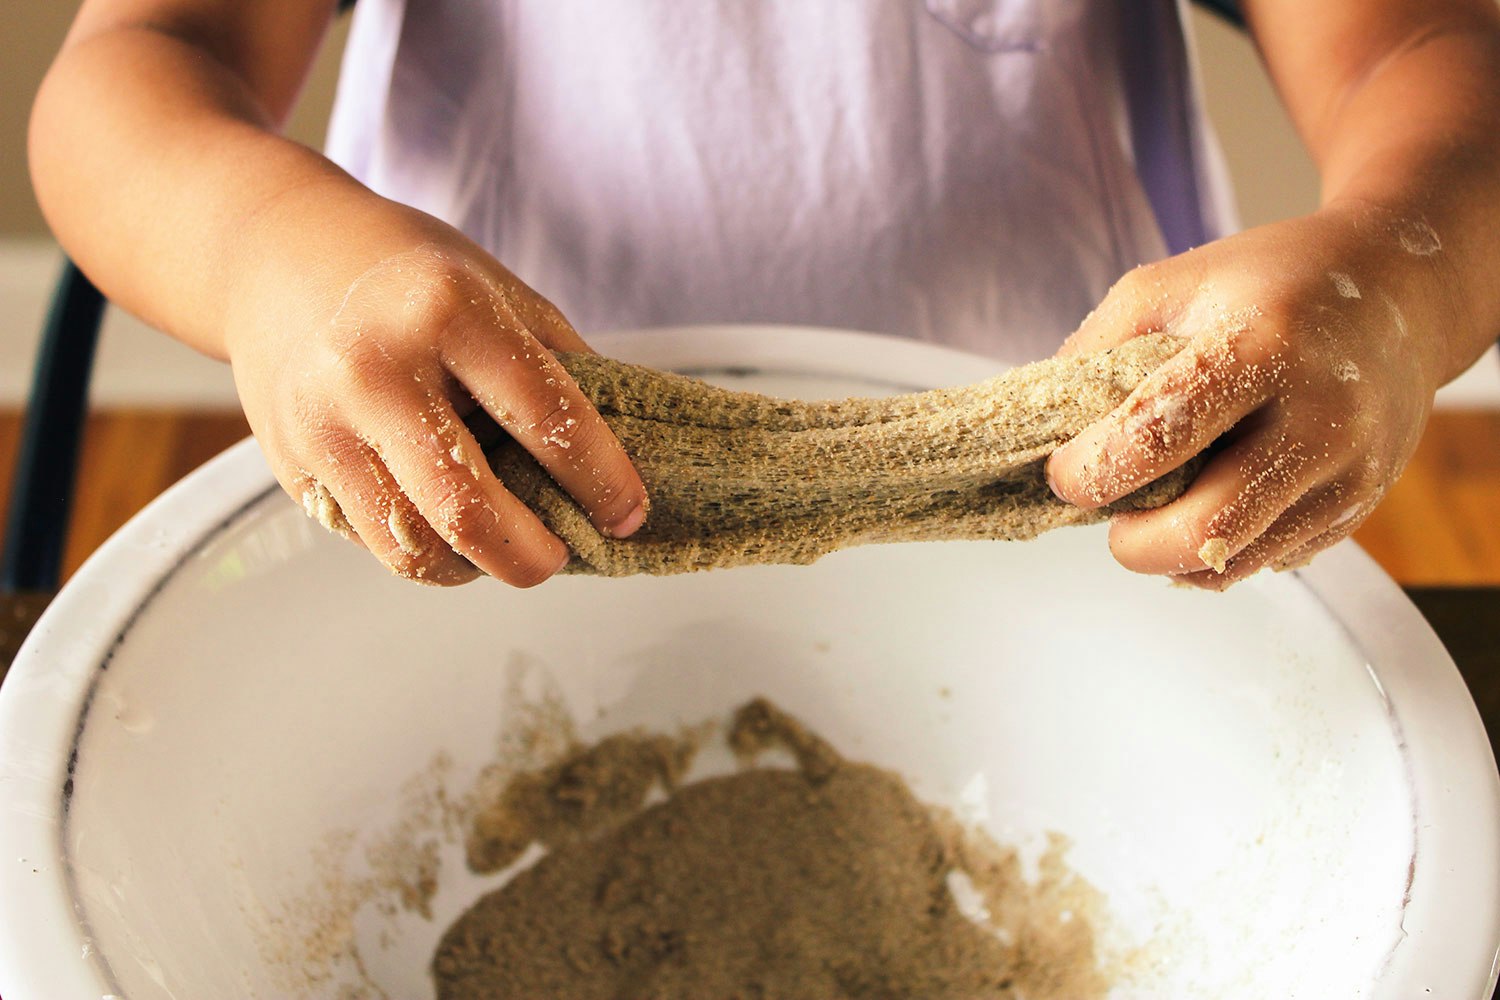
Repeat step four until your mixture no longer sticks to your fingers, and instead feels soft like a sandy dough that is not tacky, but still stretchy. You will likely use almost half of your 900 g bag of sand – be patient!
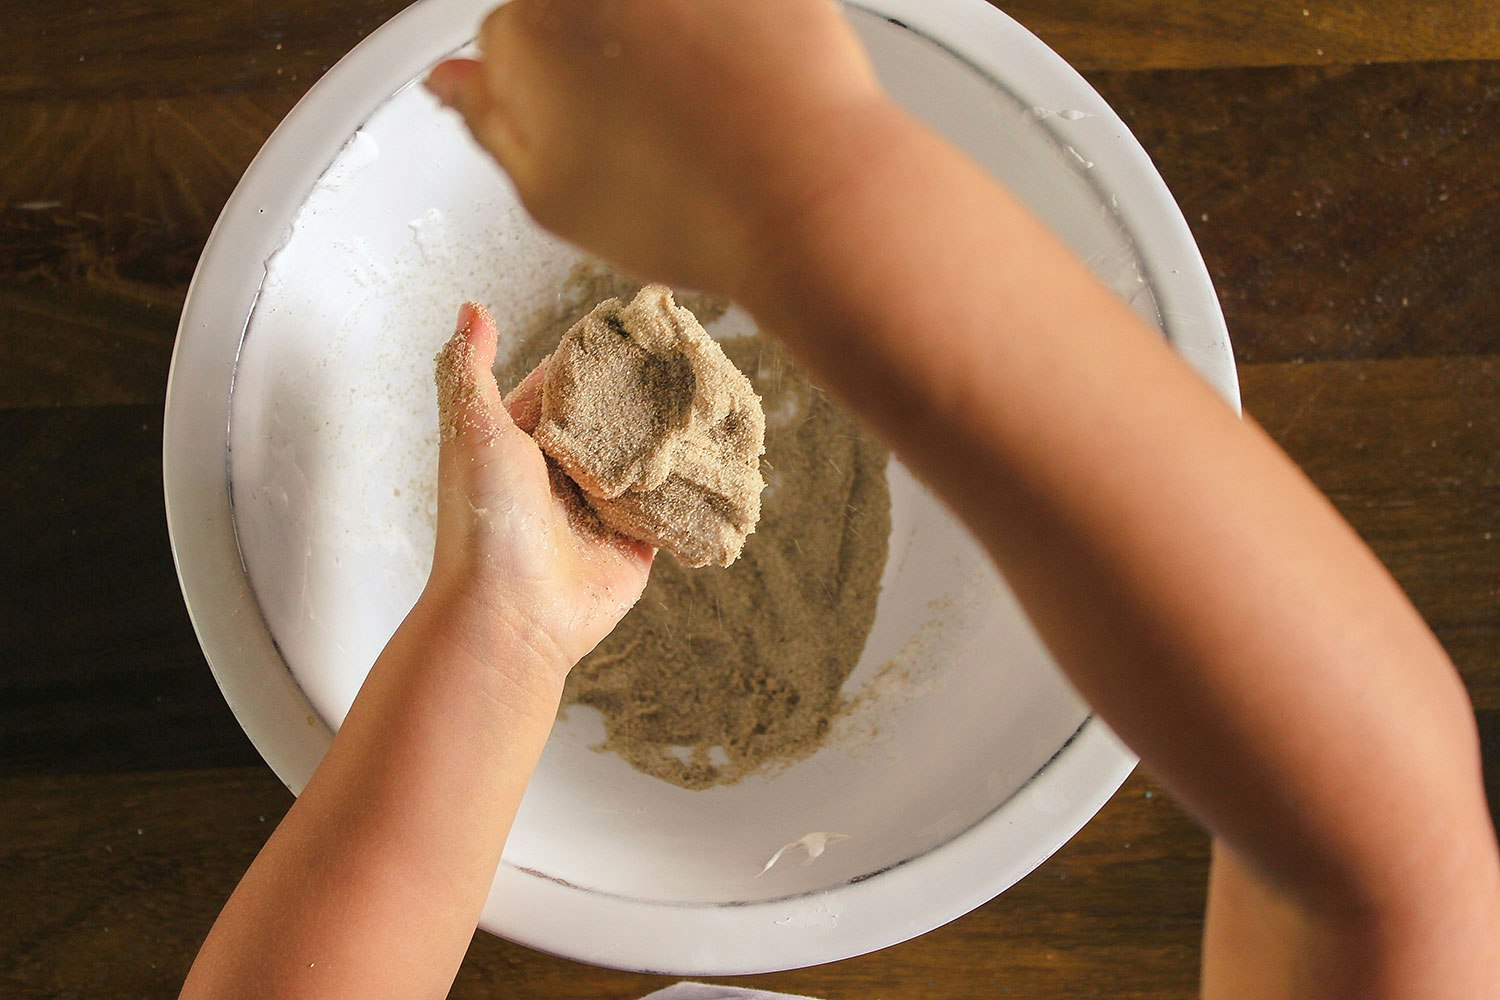
Once your slime no longer feels like slime, and is stretchy, soft, gritty, spreadable and mouldable, you’ve sufficiently turned it into a Satisfying Sand! Have fun playing!